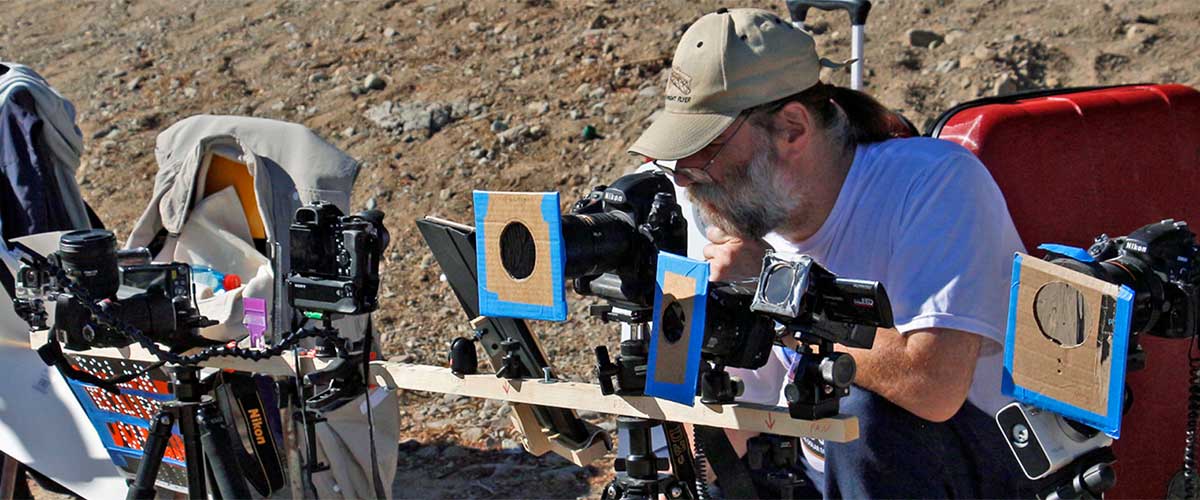
The reading material for eclipse trips is particularly important, because it will contain details on how to safely view, and photograph, the solar spectacle. The guide should also tell you where you can buy safe solar-filter material for your camera or binoculars. Do so well in advance of your departure. Don’t assume the tour operator will have enough filter material for everyone.
Another reason for reading the eclipse material before you go – especially if this is your first totality – is that it might raise questions. If that’s the case, seek out the trip’s astronomer once the tour has started. Have your own one-on-one Q&A with him or her. Don’t wait until the night before the eclipse when there’s usually a talk, because post-talk, many people will be asking questions.
Got Power?
You might bring more gear (cameras, laptops, etc.) on an eclipse tour than on a “normal” trip. All this stuff needs power. Bring extra batteries for items such as cameras that use removeable/replaceable batteries, and ensure you can recharge electronics that have internal batteries. Most laptops, tablets, cell phones, and battery chargers need only a plug adaptor, because they can handle dual voltages. (Dual voltage chargers have “Input 100-240V, 50-60 Hz” inscribed on the device.) Go online to determine what plug adaptors you need for the country, or countries, you’re visiting, and bring more than one. If you discover you have the wrong adapter (or forgot to bring one), ask for a loaner at the hotel’s front desk. Hotels sometimes keep adapters left behind by previous guests.
Carry it On
These days, your smartphone’s camera is often the only photo gear required on trips. But what if you want to take a high-end camera, or perhaps binoculars or even a small telescope for viewing totality? The weight of your gear can add up quickly. Before you pack, research airline baggage weight limits for both checked and carry-on bags, especially for any in-country flights you might be taking. (International flights often have more generous weight allowances.) If possible, ensure all your optical gear is part of your carry-on luggage. If you have delicate equipment, ‘pad’ the bag with some clothes. This not only protects the gear, it provides a change of clothing in case your checked bag doesn’t arrive with you.
In addition to carrying on those spare batteries and plug adaptors, include solar filters for your optics and an extra memory card for your camera. Don’t overlook important non-photographic items either. Prescription glasses and medications should never be packed in checked luggage.
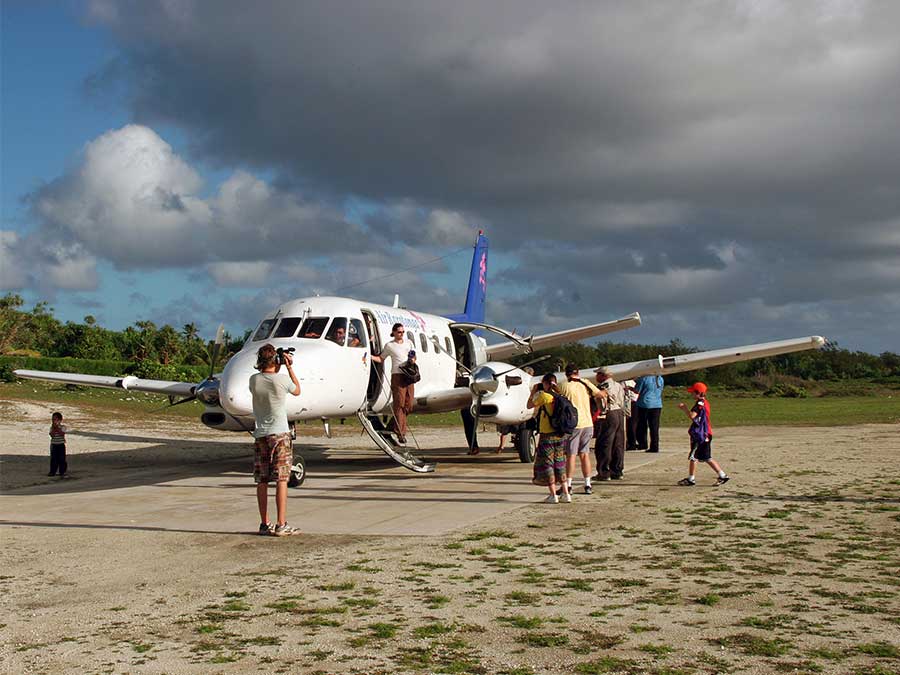
Small aircraft used on internal flights often have limited cabin space, so occasionally you might be forced to check even your carry on. But all your valuables are in that bag! The solution? Place anything you absolutely cannot live without – passport, medication, spare glasses, camera, house/car keys, itinerary with flight details, and so on – inside a small backpack within your carry on. Then, if you must hand over your regular carry on at the last minute, merely remove the backpack and bring it on board.


